Astrophotography
-
July 2025 – Waxing Moon
47% Illuminated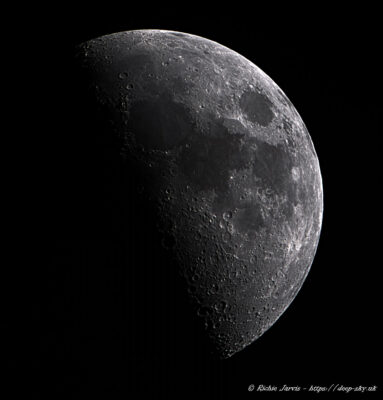
-
Sunrise over Hastings
Photobombed by the ISS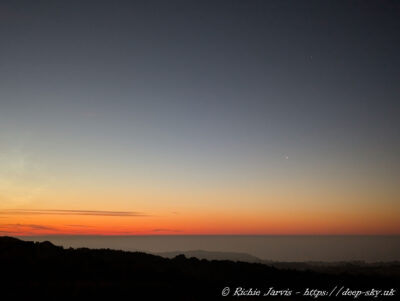
-
March 2025 – Cigar Galaxy
Messier 82 – The Cigar Galaxy in Ursa Major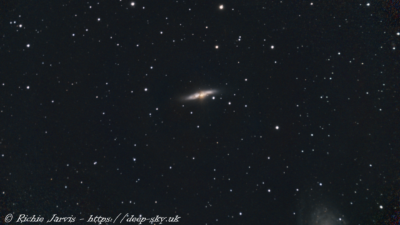
-
October 2024 – Aurora Over Westfield
Rare Aurora over the South of the UK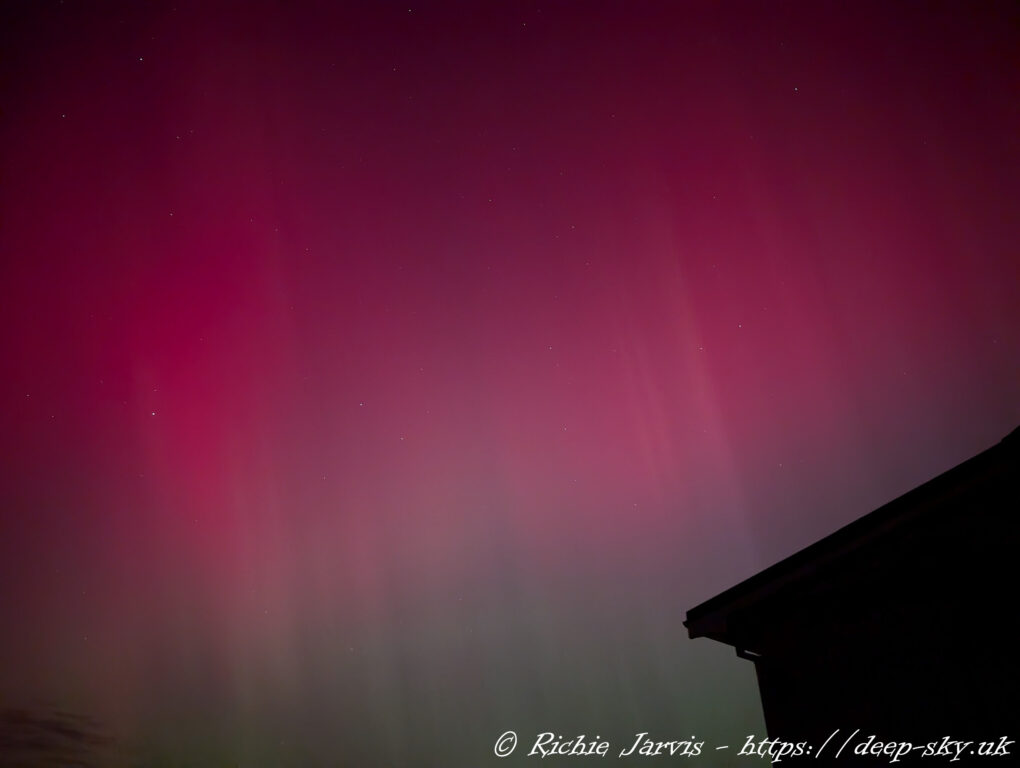
-
March 2022 – The Pinwheel Galaxy
Messier 101 in the Constellation of Ursa Major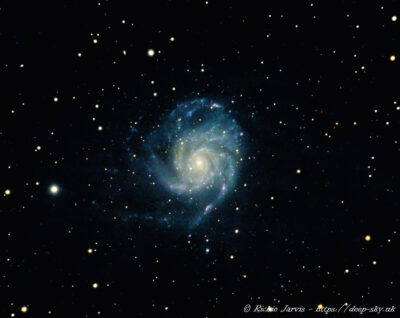
-
March 2022 – The Vacuum Cleaner Galaxy
A barred spiral galaxy in the constellation of Ursa Major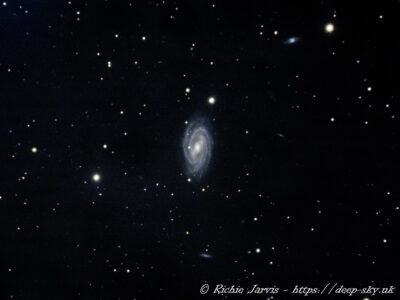
-
January 2022 – The Great Orion Nebula
Taken using a Hydrogen Alpha filter. Located in the constellation of Orion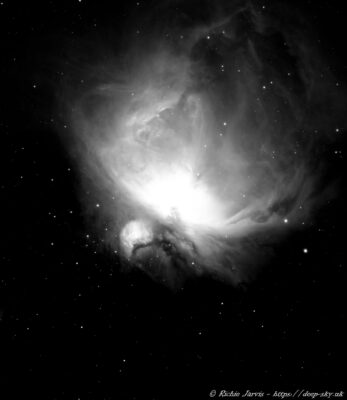
-
January 2022 – The Pleiades Cluster
An Open Reflection Cluster in Taurus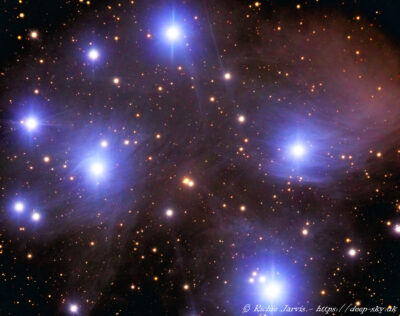
-
March 2021 – Whirlpool Galaxy
Taken with a 4.5″ telescope & CCD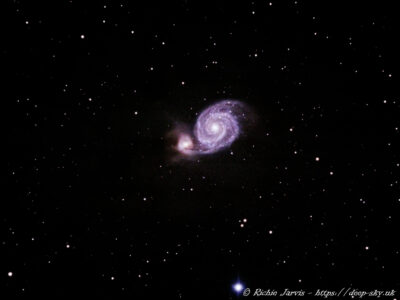
-
February 2019 – Bodes & Cigar Galaxy
Messier 81 – Bodes Galaxy (Bottom-Right) & Messier 82 – Cigar Galaxy (Top-Left)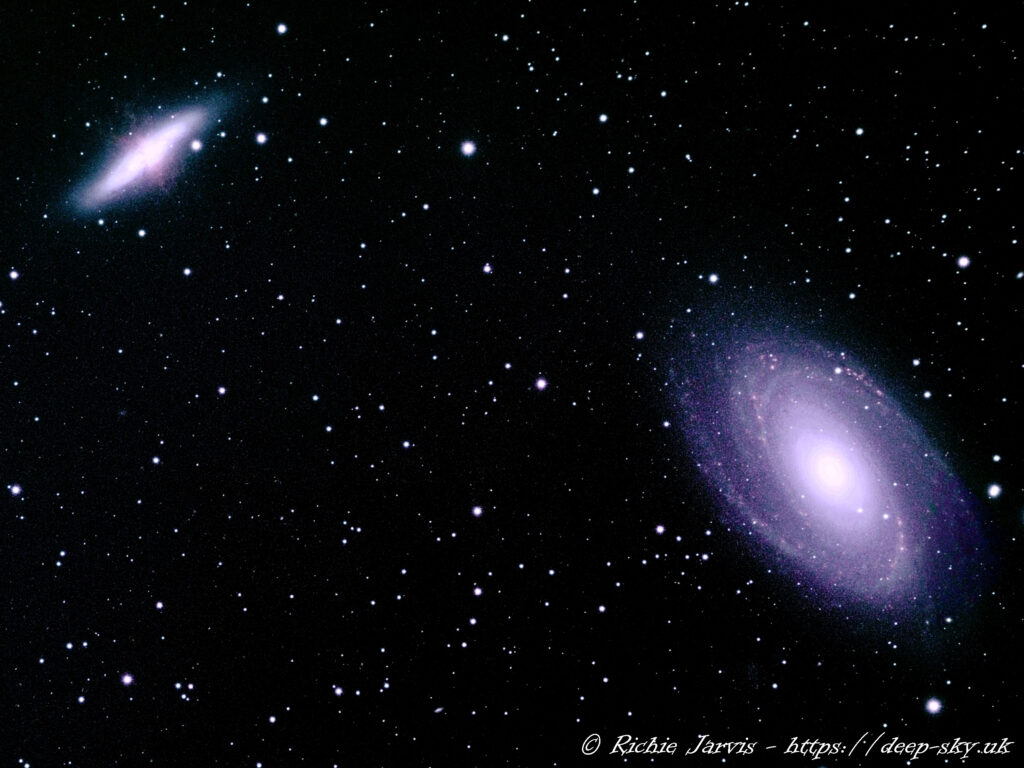
-
February 2019 – Full Moon
99% Illumination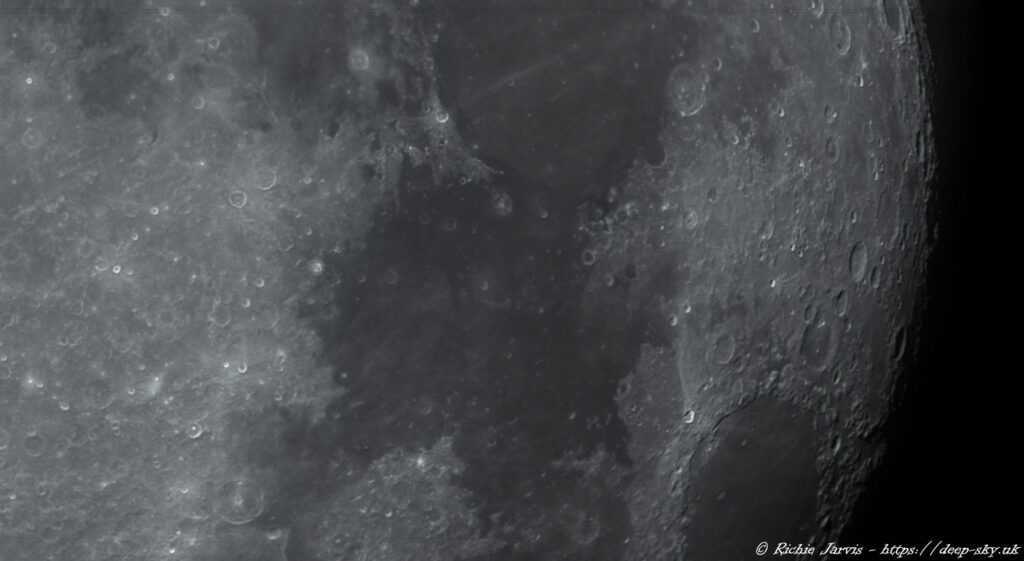
-
December 2017 – The Great Orion Nebula
Messier 42 in Orion taken and processed using the Hubble Palette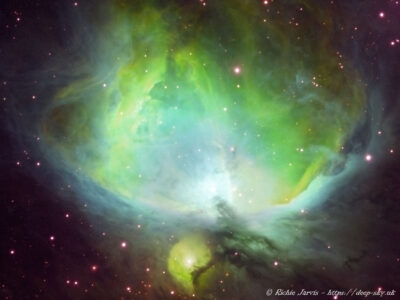
-
Bubble Nebula in Hubble Palette
NGC7635 in Cassiopeia. Taken in Hubble Palette.
-
April 2023 – The Black Eye Galaxy
The Black Eye Galaxy also sometimes known as the Sleeping Beauty Galaxy or Evil Eye Galaxy in Coma Berenices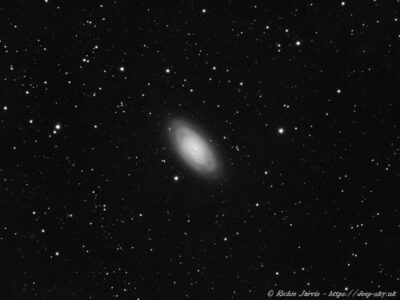
-
April 2015 – Great Globular Cluster
Messier 13 in the Constellation of Hercules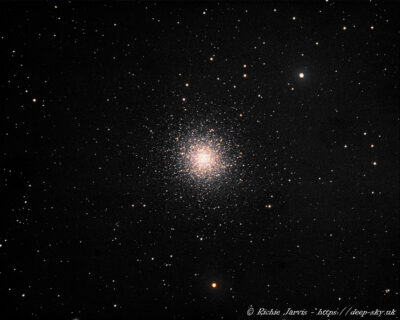
-
September 2014 – Andromeda Galaxy
Messier 31 in the constellation of Andromeda – 4 Pane Mosaic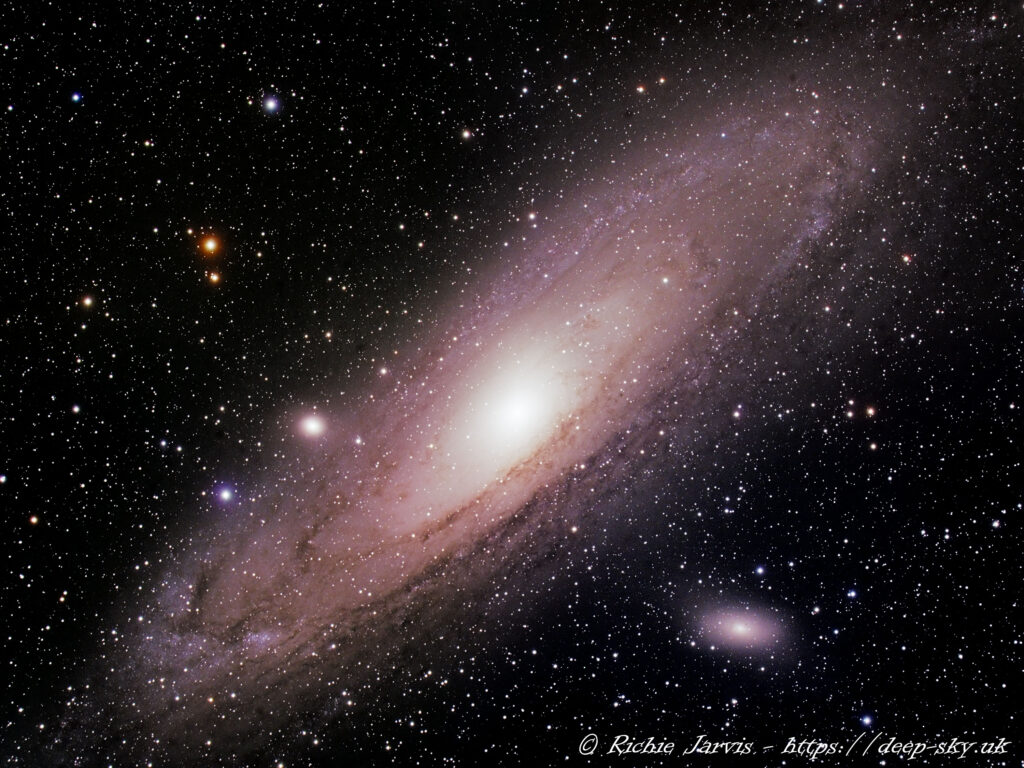
-
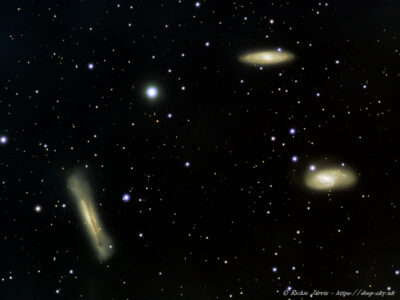
March 2010 – The Leo Triplet
Messier 65, 66 & NGC3628 in Leo